外观
Vue2 组件封装与发布指南
423字约1分钟
2024-05-11
创建 Vue2 项目
npm install -g @vue/cli
// 两种方法
// 1. 通过Vue UI 创建
vue ui
// 2.命令行创建
vue create my-app
创建组件
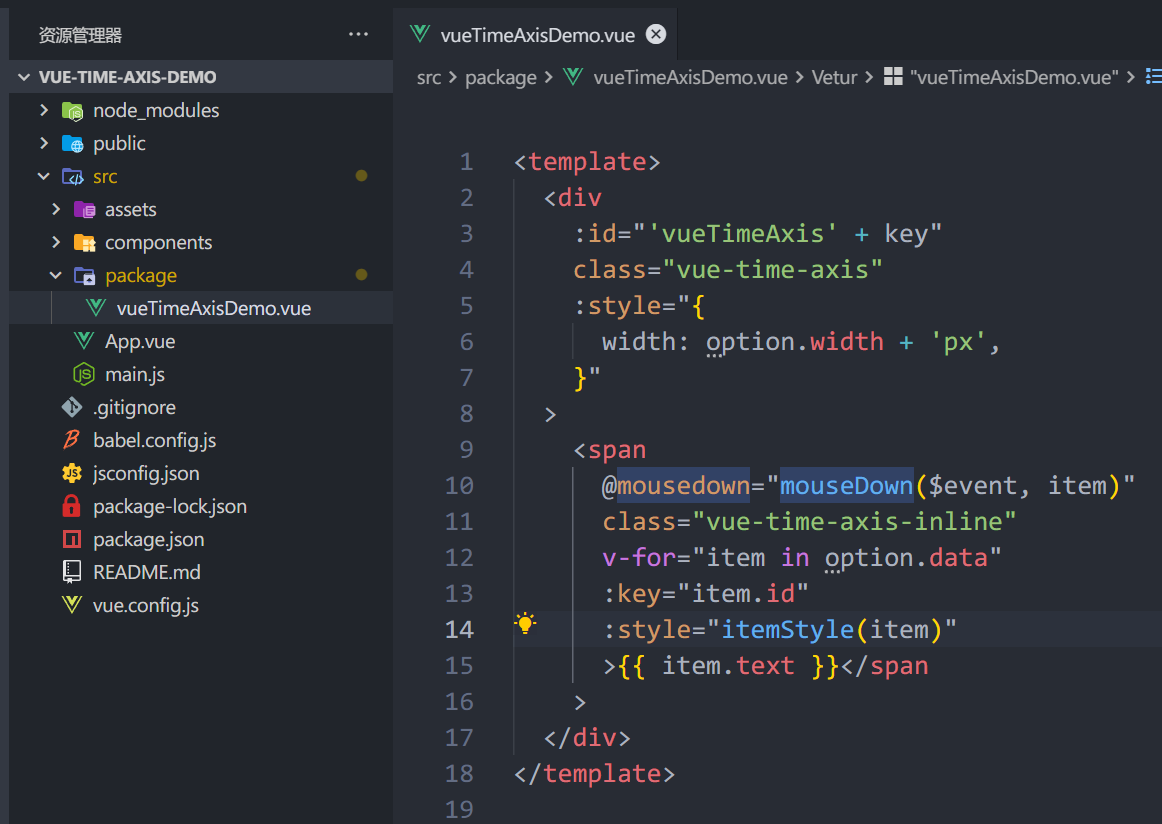
新建 package/vueTimeAxisDemo.vue

加载组件 - Vue 插件模式
新建 package/index.js
// 导入组件
import vueTimeAxisDemo from './vueTimeAxisDemo'
// 组件添加数组
const coms = [vueTimeAxisDemo]
// 循环批量注册
const install = function (Vue) {
    coms.forEach(com => {
        Vue.component(com.name, com)
    });
}
// 导出
export default install
组件打包
Vue2 项目 package.json 文件中新增打包脚本。
  "scripts": {
    "dev": "vue-cli-service serve",
    "build": "vue-cli-service build",
    "lint": "vue-cli-service lint",
    "build:package": "vue-cli-service build --target lib ./src/package/index.js --name vueTimeAxisDemo --dest vueTimeAxisDemo"
  },
--target lib指定打包的目录文件--name打包后文件名--dest打包后的文件夹名
运行打包命令
npm run build:package组件上传 - 发布到 npm
进入打包出的vueTimeAxisDemo文件,执行命令
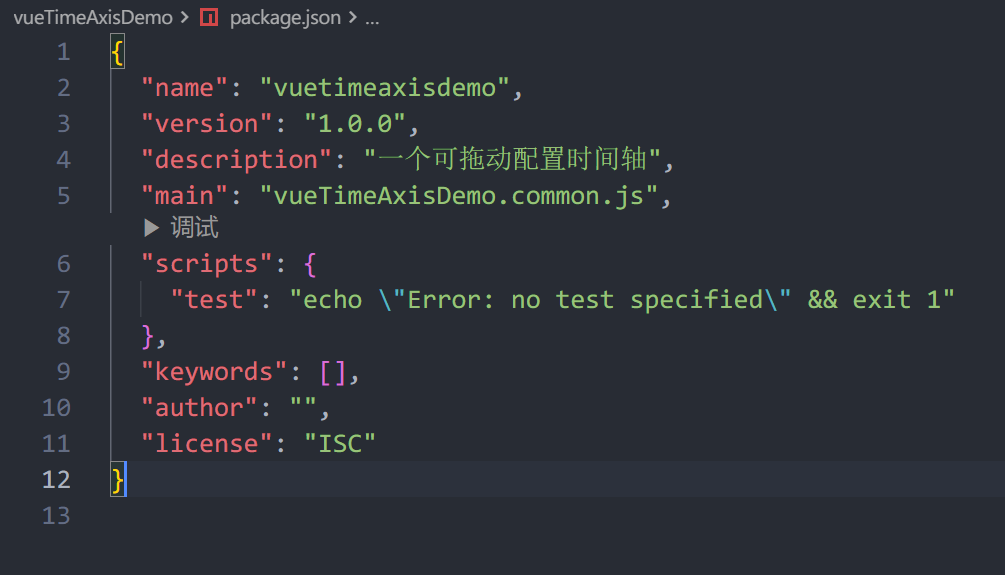
npm init -y
注册 npmjs 官网账号
本地登录账号
npm addusernpm 设置为官方源,不能为其他源,否则发布失败。
npm config set registry=https://registry.npmjs.org执行发布命令
npm publish注
- 如果发布失败,可以查看是否是名字重复
- NPM 包名字不能为大写,推荐小写字母和
-组合。大写字母发布会报错。
使用组件
发布成功后,在需要使用组件的项目中安装。
npm install vuetimeaxisdemo在 main.js 中引入组件。
import vueTimeAxisDemo from 'vuetimeaxisdemo'
import  'vuetimeaxisdemo/vueTimeAxisDemo.css'
Vue.use(vueTimeAxisDemo);
在页面中使用组件即可。
<template>
  <div id="app">
    <vueTimeAxis :option="option" />
  </div>
</template>